9 min read
Guide to Installing Electric Boilers
Electric boilers are similar in size to gas boilers and, on average, slightly cheaper to install. They have appeal to homeowners who live off the gas...
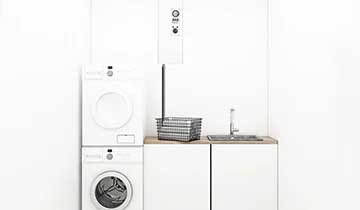
If you’ve ever experienced a boiler breakdown, you’ll know it can be a very inconvenient and sometimes traumatic experience, especially if you rely on your boiler for heating the winter time. If you’re not familiar with the mechanics of a boiler it can feel like a major disaster, but there is usually a simple reason for a boiler to stop functioning, and with a little bit of patience and confidence you might even be able to get it going again without calling in the pros!
It is important to note that any electrical work must be carried out by a competent person, ideally a professional. But, if you are a home owner, confident with electrics and able to confidently isolate the electrical supply, you can attempt some of these troubleshooting steps yourself.
This article will guide you through the checks and potential fixes and hopefully help you to get your ThermoSphere Electric Boiler up and running again!
If your boiler isn’t working the first thing you need to check is whether it has power. Without a live electrical supply, the boiler simply won’t turn on and there will be no signs of life at all.
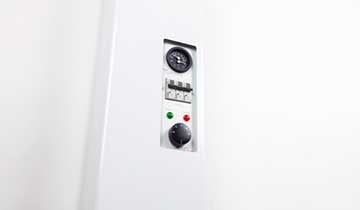
Check the power light. When the boiler has an active power supply the power light will be illuminated. The power light is on the control panel on the front of your boiler and if it is illuminated then your boiler has an active power supply.

|

|
Check isolation switches and distribution board. If there is no power the light will be off and you need to check that any isolation switches are on and also that the MCB, RCBO or RCD is switched on at the distribution board. If all of these are on and you expect power at the boiler, the next thing to do is check the wiring inside the boiler.
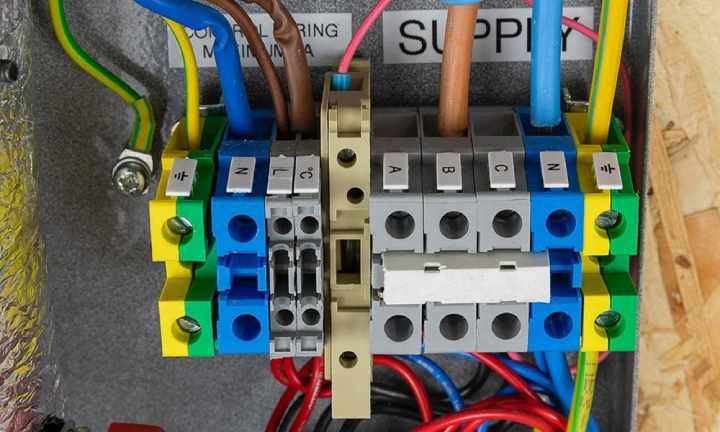
Check wiring connections. Isolate the electrical supply again and remove the boiler cover. Check the wiring connections in the supply terminals at the top of the boiler. There should be a live (brown), neutral (blue) and earth connected. The boilers require quite large power supplies so the cables will be quite thick. Check the connections in the boiler and make sure they match the relevant wiring diagram.
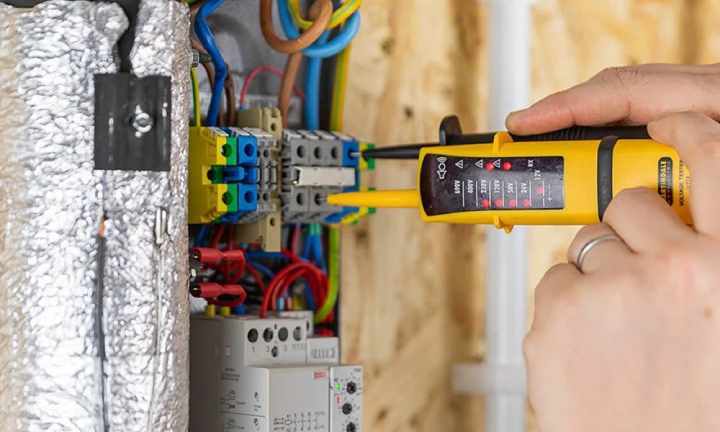
Check for voltage. If the wiring is correct, the next thing to do is check for voltage. To do this you will need to switch the power supply on again. This check should only really be done by a professional electrician because the boiler could be live at this point. Using a multimeter, check for a voltage across the L & N supply terminals. You should get a reading of around 230~240V if connected to UK single phase mains. If you do detect a voltage but the light is off, then the power light has failed. Contact us for a replacement.
If there is no voltage at this point you will need to check the electrical supply circuit for faults and restore power to your boiler.
If your ThermoSphere Electric Boiler has power but is still not heating, then you could have an issue with a number of other things.
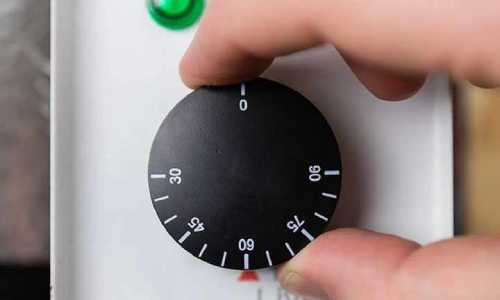
It sounds obvious, but you should check that the thermostatic dial is turned up to request a temperature that is higher than the measured temperature on the gauge. The boiler will only heat up if the water inside it is cooler than the set temperature on the thermostatic dial.
When you turn the thermostatic dial up and pass the measured temperature you should hear a click and then hear the relays and the pump switch on. You will then see the temperature and pressure begin to rise.
Check the temperature readings on the gauge because the dials are not always positioned correctly, and the numbers are not always reliable. You can also use a separate thermometer to verify the temperature if there is any doubt.
Check high temperature cut out switch
Each ThermoSphere Electric Boiler is equipped with a high temperature cut off switch (or over temperature switch) which, depending on your model, will be set to turn the boiler off if temperatures over 80 or 90°C are detected. This is a safety feature designed to prevent overheating.
The high temperature cut-off switches must be manually reset before the boiler will start working again. To reset the switch, you need to isolate the electrical supply and remove the boiler casing. You will see the cut-off switch located on the water cylinder inside the boiler and you can identify it by the small red button. Press the small red button to reset the switch.
Replace the boiler cover and turn the power supply back on. The boiler should now operate as normal. If this switch activates and turns the boiler off a lot, you will need to turn the operating temperature down to a stable level.
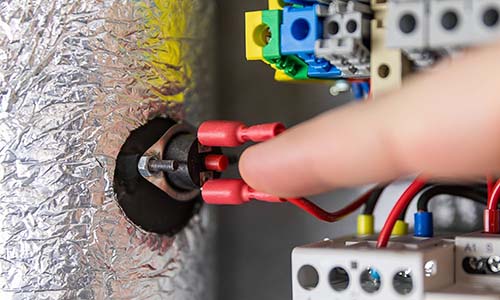
Your ThermoSphere Electric Boiler will not operate unless there is sufficient water pressure of at over 1 Bar. This protects the boiler from heating up when there is no water inside it which is important because if this happens the elements can overheat and fail, which is not covered by the warranty.
|
Correct pressure when cold |
Correct pressure when hot |
Low pressure is indicated by the pressure warning light, next to the power light on the control panel on the front of the boiler. You will also be able to read the pressure gauge to verify the low pressure.
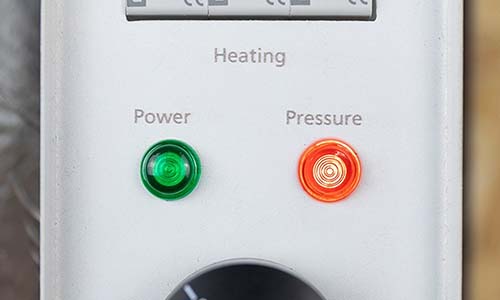
Low pressure is usually a relatively simple fix, so long as you have not got any leaks! With a low pressure boiler, you need to check the whole plumbing circuit for leaks to ensure you are not losing water anywhere and causing damage to your property.
Once you’ve found and fixed any leaks you can re-pressurise the system. Use the filling loop to top up the system to around 1.5 Bar. It is important not to top the system up any more than this to allow for expansion in the system when the water heats up.
When you have topped up the system the pressure warning light should turn off and the system should then run normally.
(On the V1 boiler only: If the pressure warning light is on but the pressure reading on the gauge is ok, then you may have a faulty pressure switch. To verify this you should check any other pressure gauges on the plumbing system. If these readings are also ok, then we can safely assume the pressure in the system is good.
To check the pressure switch you need to isolate the power supply to the boiler and remove the 2 wires connected to the pressure switch. The pressure switch is located near the top of the water cylinder inside the boiler. Now temporarily connect the 2 wires to bypass the pressure switch and complete the circuit. Switch the power supply back on and if the light turns off and the boiler begins to function then you know you need a new pressure switch! Contact us for a replacement.
To make the boiler safe, isolate the electrical supply and disconnect the temporary bypass link. Leave the boiler power supply off and do not use the boiler until a new pressure switch has been installed and tested.
The pressure warning light on the V1 boiler will also come on to warn you about high pressure approaching 3 Bar. If this happens you should release some pressure from the system using the drain valve and a bucket. Be careful as the water will be hot.
Adjust the pressure to around 1 – 1.5 Bar when the system is cold. This will allow for expansion when the water heats up. If the pressure does exceed 3 Bar the pressure release valve at the bottom of the boiler will activate to relieve pressure automatically.
A tripping RCD is usually caused by either an overloaded electrical circuit or a leak to earth from the boiler or on the supply circuit.
Check for overloading. The first thing to check is the total load on the circuit that the boiler is connected to.
Check the total load of your boiler, you can find this in the technical data table in the instructions or on our website and check the load of the circuit that the boiler is fed by. The MCB or RCBO that feeds the boiler should be rated higher than the maximum current of your boiler. For example, if your boiler needs 21 Amps you should have it connected via a 25A RCBO.
Ideally your boiler should be fed by a dedicated circuit which means it is the only electrical device drawing power from that circuit. If this is not the case, you should turn off and disconnect every other appliance that is connected to the circuit. Try the boiler again and if the RCB holds you know the problem lies with overloading or another appliance and not the boiler. Consult an electrician to rectify the issue.
Check for a leak to earth. A leak to earth could be caused by damaged heating elements or damage to one of the cables supplying the boiler. To verify the cause of the leak to earth isolate the electrical supply and remove the boiler cover.
Disconnect the supply cables from the terminals inside the boiler and make safe. Try to re-energise the supply circuit. If the RCD still trips, with the boiler disconnected, then the boiler is OK and external wiring should be investigated and rectified by a competent electrician.

|

|
If the RCD now holds and doesn’t trip, then the fault is within the boiler and is likely to be caused by a failed element. To verify this (while the supply cables are still disconnected) switch off the boiler MCBs on the control panel and perform an insulation resistance test between the element terminals and the main earth terminal.
A fault to earth will be identified by a low reading. This is generally a reading below 499 Mega Ohms depending on the tester being used. Contact us for advice on repair and replacement.
If your boiler has power and there are no warning lights it may seem that there are no issues. But what if it is still not heating up the water? This is usually caused by a problem with a heating element and there are some tests an electrician can do to find out where the problem is.
Check the current.
An electrician will be able to use a current clamp to measure the current being drawn by the boiler when it is on and calling for heat. This can be done by placing the clamp over the live supply cable (or cables in a three-phase installation) and recording the reading the meter gives. Check the meter reading against the expected current values in the data table in the instruction manual.
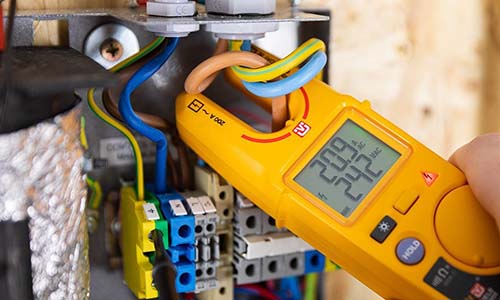
A lower current reading than expected could indicate that one or more of the heating elements within the boiler may have expired. To verify this, isolate the supply to the boiler and measure the resistance of each of the heating elements in turn.
In single heating block boilers (up to and including 15kW) each of the three elements within the cluster should have similar resistance.
Dual heating block boilers (18 & 24kW) use 2 heating element clusters with different heat outputs. Each of the 2 element clusters will have different values but the elements within each cluster should have similar resistance values.
If any of the elements have a different value than expected (outside the tolerance of =/- 10%) or are reading open circuit, then the element has failed and must be replaced. Contact us with your resistance values and the tested incoming voltage and we’ll be able to assist you.
My pump isn’t working
Some of the ThermoSphere Electric Boiler range have a built-in pump. The pump is a black and silver unit located at the bottom of the boiler inside the enclosure. If your pump is not located inside the boiler enclosure you will need to contact the pump manufacturer for troubleshooting and installation guidance.
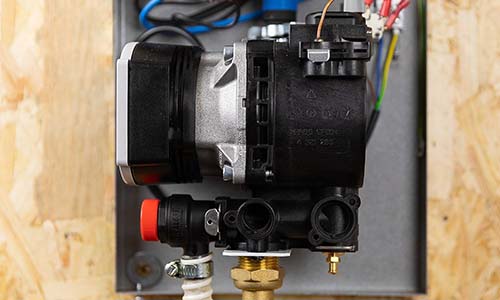
V1, V3 & V4 boilers from ThermoSphere all have a pump timer relay built in. The Pump timer relay is located inside the boiler enclosure, either next to the main switching relay or down near the pump depending on some larger models.
You will notice 2 LEDS on the pump timer relay. The red LED switches on when the relay is on and sending power to the pump. If the pump is not running while the red LED is on you need to use a volt meter to verify 230V at terminal 18 on the timer relay.
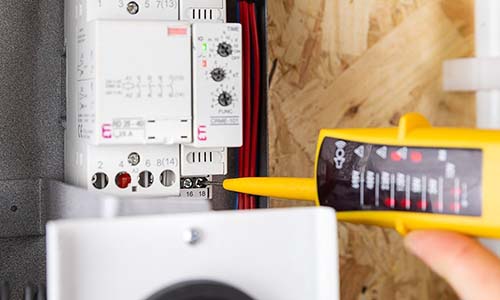
If there is 230V present but the pump is not working, then the pump is likely to have failed and must be replaced.
If there is no voltage, there is likely to be a fault with the internal control wiring of the boiler or a failed sensor – see “Check control wiring” above.
Check the pressure. Issues with the pump can sometimes be caused by pressure. The pump will only operate with adequate pressure so ensure the system is up to operating pressure of 1 to 1.5 bar when the water is cold.
That concludes our guide to common problems with electric boilers and how to resolve them. Hopefully it gives you the confidence to troubleshoot your boiler should the need arise in future. As always please feel free to get in touch if you have questions or have an issue that is covered by this guide.
Disclaimer: Electrical work should be carried out safely by a professional electrician and care should be taken to ensure that the electrical circuits are isolated and safe before conducting any work. Pressurised heating and hot water systems should only be installed, serviced and repaired by qualified heating engineers. All work must comply with the relevant local standards and regulations.
Complete this short form to receive a new electric boiler quote along with the right specification for your property.
To discuss electric boilers for larger projects, please call one of the team on 0800 019 5899.
9 min read
Electric boilers are similar in size to gas boilers and, on average, slightly cheaper to install. They have appeal to homeowners who live off the gas...
7 min read
Electric boilers have always been most popular in off grid areas with no mains gas, but with the increases in oil prices and the desire to reduce our...

12 min read
In this first part of our guide ‘Why is my underfloor heating not working?’, we cover; towel test, power, circuit check and sensors. But if it’s...